- v50 information can now be added to pages in the main namespace. v0.47 information can still be found in the DF2014 namespace. See here for more details on the new versioning policy.
- Use this page to report any issues related to the migration.
Pump-stack method
| This article was migrated from DF2014:Pump-stack method and may be inaccurate for the current version of DF (v53.11). See this page for more information. |
v53.11 · v0.47.05 This article is about the current version of DF.Note that some content may still need to be updated. |
Kingubu posted this novel approach to Aquifer piercing over on the bay12 forums. This tutorial is based extensively on that video, adding only a few improvements that have since been made to the method. Kingubu's method, which he loosely referred to as the no-cancellation-spam method but is here called the pump-stack method, is significantly faster than the famed Double-slit method but does require significantly more materials and labors since it involves building a double pump stack. In its simplest form, the method draws heavily on the Dwarven water reactor exploit, so it may not be for everyone. However, it is entirely possible to accomplish the method without the exploit, but it is somewhat slower as you will need to build a power system to run the pump stack.
Links to Kingubu's videos as well as one made by TacoMagic are in the links section at the end of the tutorial.
Before You Start[edit]
Double-slit method[edit]
Go and read the double-slit method tutorial, and possibly run through it with an aquifer. Knowing the basics of how aquifers drain is crucial to getting this method to work. Take particular note of the draining an aquifer section.
Pump stacks[edit]
If not already familiar with them, get yourself comfortable with building a powered pump stack.
The Embark[edit]
Your best bet for your first try at this aquifer pierce is to bring at least the following:
- 1 Proficient Mechanic/Carpenter
- 3 Proficient Carpenters/Architects
- 1 proficient Wood Cutter/Carpenter
- 2 Proficient miners
- 10 stone.
- 2 picks
- 1 axe
- Lots of food and alcohol.
Embark in an area with an aquifer and plenty of trees. Picking an area with deep soil increases your chance of getting a multi-level aquifer to practice on. It is recommended that you try as flat of an area as possible for your first attempt. Picking a calm site with invaders turned off will provide a less distracting learning environment.
The Method[edit]
Prepping the site[edit]
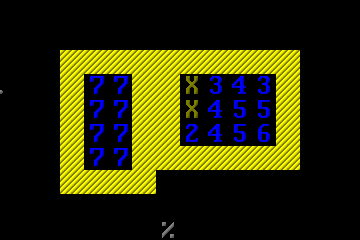
The first things you'll want to do is queue a lot of trees for cutting, build three carpenter's workshops, a mechanic's workshop, and dig a 4x3 shaft of stairs down from the surface until you hit aquifer. Of importance, dig the shaft one level at a time and check the level below the stairs before you dig the soil. Stop as soon as you see the damp soil. Do not dig stairs in it.
Once the workshops are constructed queue up the following:
- 6 wood blocks (Once these are done, queue up a bunch more, it'll speed up building the walls later)
- 6 enormous wooden corkscrews
- 6 wooden pipe sections
- 1 wooden hatch cover
- 3 rock mechanisms
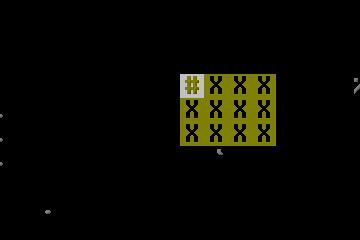
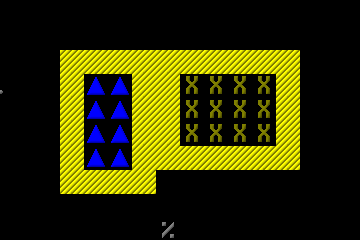
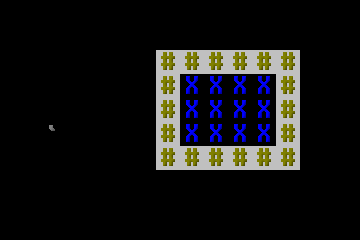
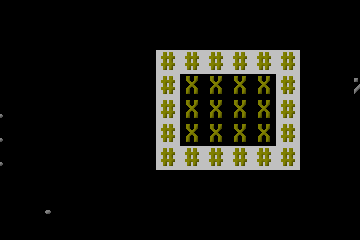
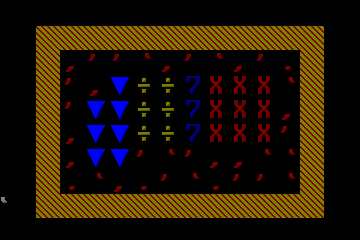
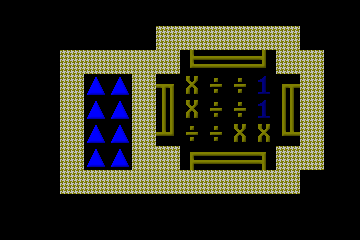
Meanwhile, once you reach aquifer create a decent sized room on the level above the aquifer. You'll need plenty of room to work with; at minimum you'll want at least 10x6 room extending down and to the left of the staircase, with a buffer of 1 tile around it. See below:
Next, pause the game and set up a 4x3 up/down stairs designation starting in the aquifer and extending 10 or so levels down. This will be used to test for aquifer as you descend. More on this in a bit.
Now you're set up and ready to start digging.
Getting started[edit]
Unpause the game and wait for your miner to dig out one of the designated aquifer tiles. You're looking for a damp stone cancellation. If you get one right as the stair dig is complete, that means there is more than one level of aquifer.
If you get a cancellation, remove the up/down stairs designation on the new damp-stone layer. Then unpause the game and let your miners finish digging out the top layer of the aquifer. If you don't get a cancellation, pause the game, remove the designation, finish this section and then proceed to the draining the lowest layer section.
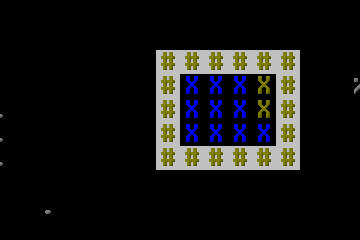
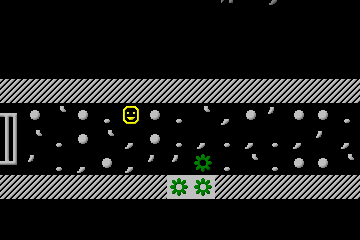
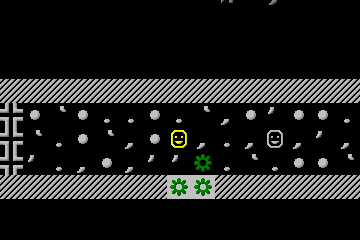
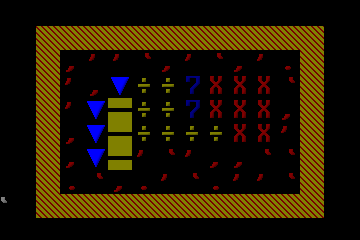
Now, head back to the top level. You'll need to designate channels as shown below. The area channeled out on the left will be the drain into which all the water from your aquifer pierce will be pumped.
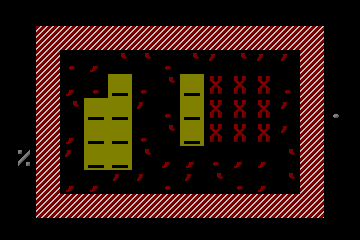
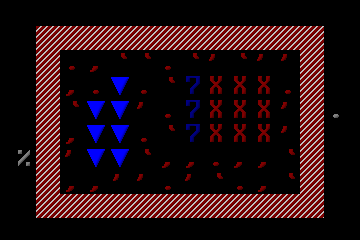
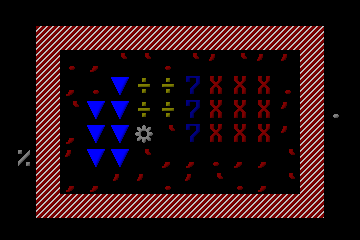
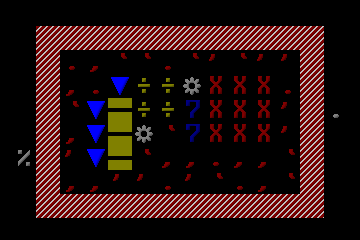
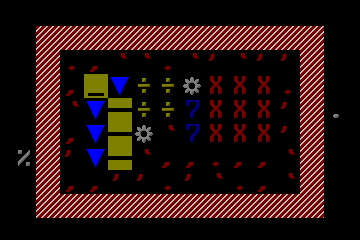
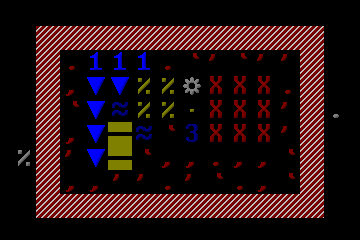
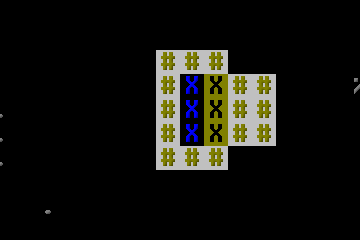
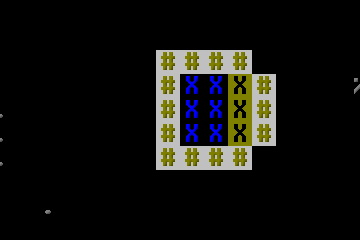
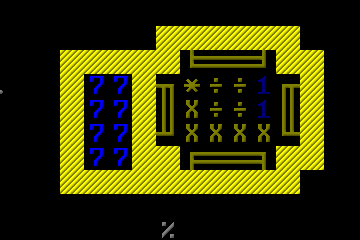
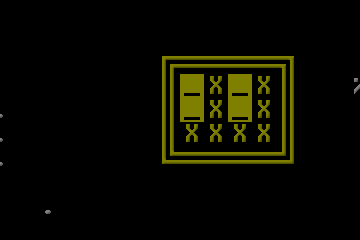
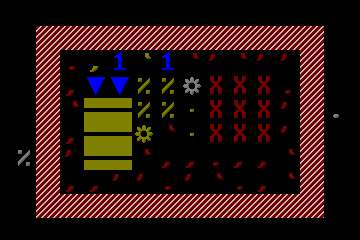
Now it's time to build the first set of screw pumps, some gear assemblies, and the water wheel that will run the show. The pumps should be set to pump out of the stairway and into the drain. In this case, pump from East to West. You'll do this part in two steps: First the two pumps and the gear assembly just south of them, and then the water wheel and hanging gear. See below.
*If your aquifer is only 1 layer thick, you do not need this gear assembly.
Now that your pumps are built and the power is ready, it's time to start them up. Channel out that missing tile and it'll start the pumps (otherwise you can always enable pumping labor on somebody and just start them manually). You will get a little splatter when it starts up, but this is normal and nothing to worry about. It stops immediately and will evaporate after a minute or two.
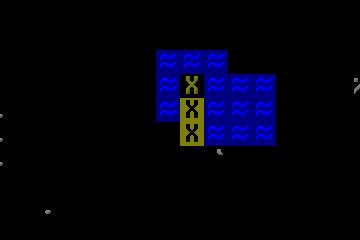
Now that your pumps are working, you can see that you've created a few safe places in your staircase to work towards setting up a drain. How you accomplish that depends on if you have an aquifer layer below this one or not.
If your aquifer is only 1-layer deep, go to the draining the lowest layer section, and follow the directions there. Otherwise proceed to the next section.
Draining an aquifer layer into a lower one[edit]
If your current pumped layer has another layer of aquifer below it, then the first thing you need to do is drill down into that aquifer layer and see if there is another aquifer layer below that. Doing this is called drilling a pilot hole. To do this, dig up/down stairs under the top left set of stairs in the pit. This corresponds to the tile that is being actively pumped dry by the top of the two pumps. Once again, you're looking for a damp stone cancellation once the stairs are dug.
Once you dig those stairs and either get a cancellation or not, remove the up/down stairs designation on the layer below the one where you just dug the stairs and continue.
At this point, you're ready to dig out the aquifer underneath your pumping layer. It's best to do this one column at a time as doing so avoids "dangerous terrain" cancellations.
At this point you now have a working drain for the entire aquifer layer above.
Walling off and extending the stack[edit]
Walling off the aquifer is extremely easy in the pump-stack method. All you do is dig out every other tile around the staircase, and then put a wall there. You'll almost never get build suspensions doing the walling like this, which is why it was originally pitched as a "no-job-cancellation" method.
Doing everything that's left is just as easy. Designate all the remaining aquifer tiles (being mindful to ignore the diagonal tiles) and replace them with walls.
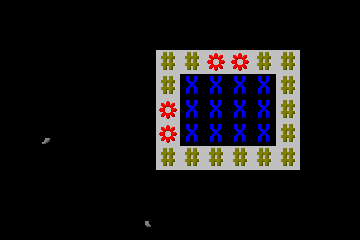
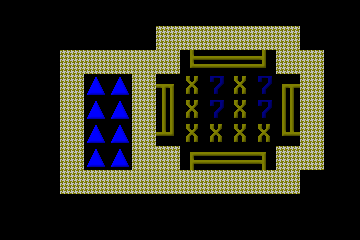
Now that you're walled off and dry, it's time to extend the pump stack onto this floor. To do this, first channel out the four tiles as shown below. While your dwarves are channeling these tiles, set a gear to hang from the gear built on the top level. This will simultaneously act as a power-transfer from the top pumps and give you something to attach the pumps on this level to. You only need to do this gear hang on the very first level of a multi-level aquifer. In a single-level aquifer you'll only be using the top pumps, and in lower levels of a multi-level aquifer, you'll be hanging the pumps from the ones directly above.
Once the gear is built and the channels dug, place your pumps. They need to pump from East to West.
So, the first leg of the pump stack is complete. At this point you've either hit more aquifer or you're ready to finish off.
Continuing down[edit]
From here on out each aquifer level is pretty much the same. You dig your pilot up/down stairs into the next level to see if there's an aquifer below that one, make a note if you find more aquifer or not, cancel the designations, dig out the next aquifer level to create a drain, wall off the working level, add the pumps, and move to the next.
Since your pumps are creating your work spot in the top-right of the working level, you dig your up/down stairs below the top-right tile.
Once you've done your pilot hole, use up/down stairs to dig out the level one column at a time.
Once you've got your drain set, wall off the level. Or, if you're lucky enough to have an aquifer in a sandstone or conglomerate level, just smooth the walls.
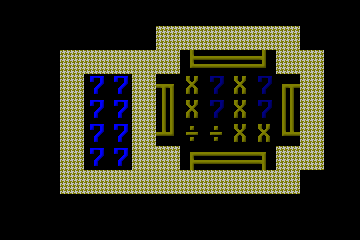
Now that you're walled off, it's time to extend the pump-stack down to this level. All you need to do is channel 4 tiles and build the pumps. These new pumps will hang from the ones above through the power transfer channel. Remember, these pumps are facing the opposite direction, so you need to mirror everything left to right.
And with that, you're ready for the next level. Just keep adding onto your pump stack until you finally dig a pilot hole without a damp stone cancellation. Once you get that lack of cancellation, finish off the walling of your current working layer, and proceed to the last layer section.
Also of note: if your aquifer is deep enough, that one water wheel up top probably won't be enough. Adding a second wheel is usually necessary if your aquifer is deeper than 3 layers.
Draining the lowest layer[edit]
The lowest layer is always the problem layer for any aquifer pierce method because there's nothing to drain it directly into. The double-slit method is able to get around this by draining small spaces and utilizing clever wall building and evaporation to finish off. Unfortunately, that isn't an option here.
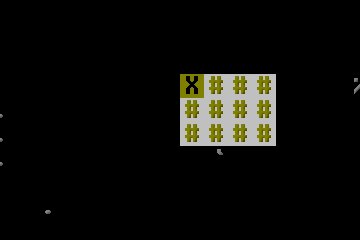
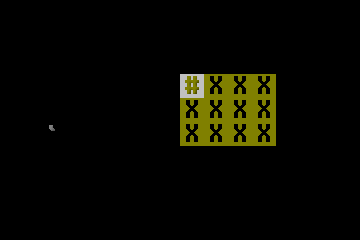
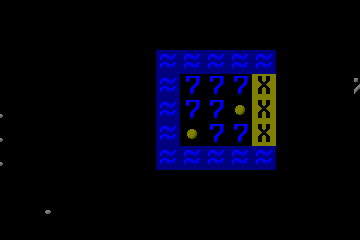
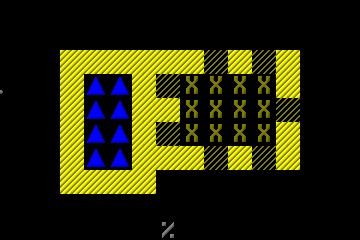
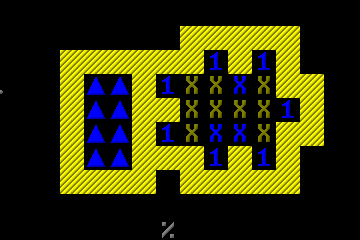
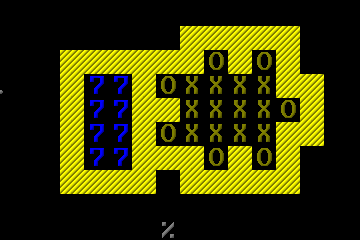
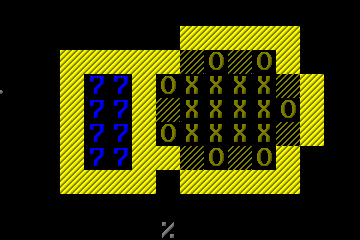
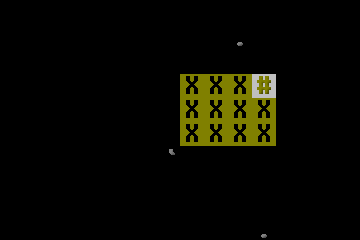
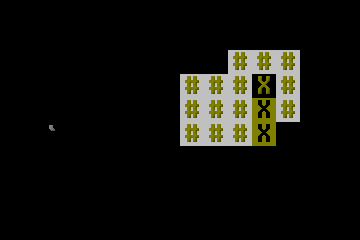
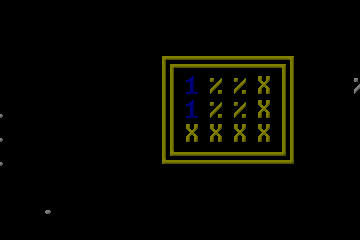
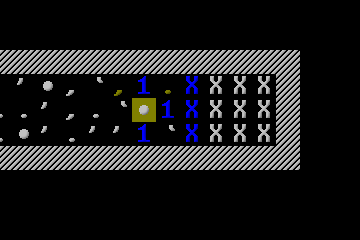
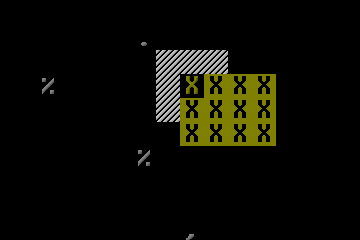
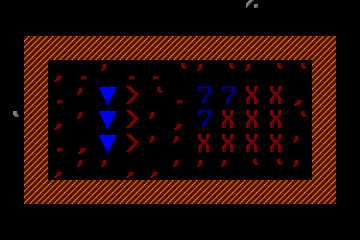
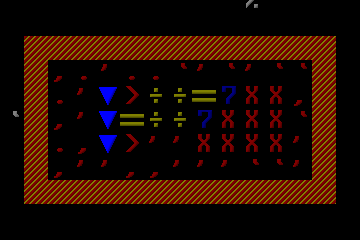
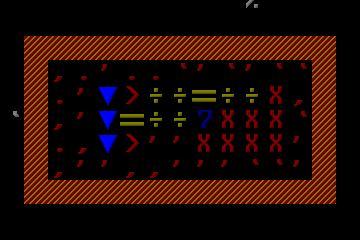
Once you've found the bottom layer, you'll be looking at something similar to the below pictures just under where you dug your pilot hole. At this point you may as well cancel not only this set of designations, but all other remaining designations you put in place to locate damp stone. At this point, you have an opportunity to check your work. There will be a single visible tile under the pilot hole. If this tile is a layer stone, or something that doesn't appear in sedimentary rock, then you're in the clear. If it's ore, gems, or stone that can appear in sedimentary layers, then proceed carefully, as you might just be digging into an ore vein and might still have some aquifer to deal with.
At this point, dig out the layer your pilot hole is in (this is the bottom layer of the aquifer) and wall-off the layer above the bottom layer like normal.
Once you've got your pump-stack on the layer above the bottom in place, and they're pumping water out of the lowest layer, it's time to finally use that hatch cover you built near the beginning of this pierce. Have the hatch cover built in the corner you would normally use to dig a pilot hole. You are probably going to get a lot of build suspensions when placing this hatch cover. Just keep unsuspending it and it'll eventually get built.
Once the hatch cover is down, close it firmly so you don't get animals down there. If at any point you built a stone stockpile or have stone enabled on any stockpile in your fort, now is a good time to disable those stockpiles. You want to prevent anyone but miners from going through the hatch you just built, so preventing animal pathing and stone-collection keeps out things who shouldn't be down there. That hatch cover is to hold back the water while your miners dig a drain.
Now that your hatch is in place, it's basic water draining 101. Dig a single 1 tile shaft of up/down stairs under that hatch cover down a few levels. You can either try taking that shaft down until you hit the caverns and drain into there, or you can aim to drain off the side of the map. In this case, it will be assumed that you'll chose to do a side-drain. Once you're down a few levels, mine a passage to the closest map edge.
Once you've got the passage mined out, smooth the tiles at the edge of the map, and then carve them into fortifications. This will be your drain.
With the drain ready, it's now time to connect it to the bottom layer of your aquifer. You do this by digging out up/down stairs in the same 4x3 area as the rest of the staircase. Dig them starting at your drain and move upwards one floor at a time, connecting the shaft to your aquifer layer at the very end.
Once that shaft hooks up to your bottom aquifer layer, it'll start draining down the shaft and off the map.
At this point, remove the hatch cover and wall-off or smooth the bottom layer. You're done! All you need to do now is wait for the water in the drain passage to work its way off the map and evaporate.
F.A.Q.[edit]
- Q: Why use this method instead of the 2-slit method?
- A: This method is quite a bit faster. You can breach a 7-layer aquifer in 3 months or less with this method, which is less than half the time a 2-slit method would take. It also involves a ton less cancellation spam on the buildings. In a typical breach, likely you'll only see a few designation cancels here and there, and the suspension spam on the hatch cover.
- Q: Why wouldn't you use this method?
- A: This method is very resource intensive and crutches on the dwarven water reactor exploit. While you can do it without the exploit by providing power in some other way, you cannot get past the fact that it uses a lot of resources. Just for the operating parts, at minimum, this method requires 9 wood and 3 stone for the top pumping system, and then 6 wood per layer. In a treeless embark, that's a lot wood to bring with. In contrast, the 2-slit method can be achieved using only 6 pieces of wood, or 2 pieces of wood and 5 rock-blocks. Additionally, this method requires 2 additional pieces of walling material per floor over what is needed by the 2-slit method.
- Q: I forgot to bring stone and it's all trapped under the aquifer! Is there a way to do this without the stone!?
- A: Yes there is. There is an appendix to this tutorial in the process of being made that walks through a method that operates without stone.
- Q: Is there a way to do this with dwarf labor instead of power?
- A: For shallow aquifers, it is certainly possible. With deeper aquifers it becomes less likely as any 1 dwarf taking a break makes the whole pumping chain fall apart. It is probably not entirely impossible, just very impractical.
Appendix A: No Stone Version[edit]
It is entirely possible to do this method without using any stone at all. It requires 3 more pumps in place of the mechanisms at a net increase in power cost of 15. Doing the method without stone only changes the top of the stack, and the first aquifer level.
To start, follow along with the normal steps until you reach the point just before you build the two pumps on the top of the aquifer.
Instead of building 2 pumps and a mechanism, instead build 3 pumps in a row. After that, you'll want to build a single pump hanging from the southern pump, and the water wheel hanging from the same pump. Of note, the hanging pump will need to be set so that it's pumping towards the pump it is attached to.
From there, proceed as normal until you have the two channels cut into the aquifer level.
First, build a screw pump pumping towards the wall in the lower left-hand corner. This will hang from the aquifer above. From there, build the two pumps as normal.
And that's it. The rest of the breach proceeds as normal. So, the only difference between the normal method and this one is that you're using 3 pumps as power-transfer units. So, if you've got lots of trees and don't want to bring any stone with you, all you need is 15 extra power and you can leave the stone at mountainhome.
Appendix B: More efficient top setup[edit]
This is a more efficient layout for the top stack, but it requires a little more planning, and an extra step when deconstructing (unless you don't mind losing a log or four).
To do this version, get to the point where you're ready to dig out your top layer, but instead of a 10x6 chamber, make an 11x5 chamber (or 10x5 if you suspect you have less than 3 aquifer layers). Then follow the steps below.
From here forward, complete each layer as the continuation of the pump stack. You will not need to build anything special for power-transmission on the first aquifer level since power will transmit from the gear/pump that was built on the staircase. This method of building the top saves quite a bit of power over the standard method shown in the main tutorial.
Of note: The downward stairs provide a place for workers to stand when building and deconstructing the horizontal axis. Using channels will prevent access and cause the axis to show up as unbuildable.
Links[edit]
Kingubu's original forum post.
Kingubu's multi-layer pump-stack tutorial video.
A single-layer variation video, also by Kingubu.
Tutorial Video created by TacoMagic.
A fully-explorable step-by-step Pump-Stack Method sandbox embark. This was an embark put together by TacoMagic as supplementary material for this tutorial. It includes a readme file with a step-by-step description of the embark.
